DIY Balloon Column with Rainbow Linking Balloons for St. Patrick’s Day
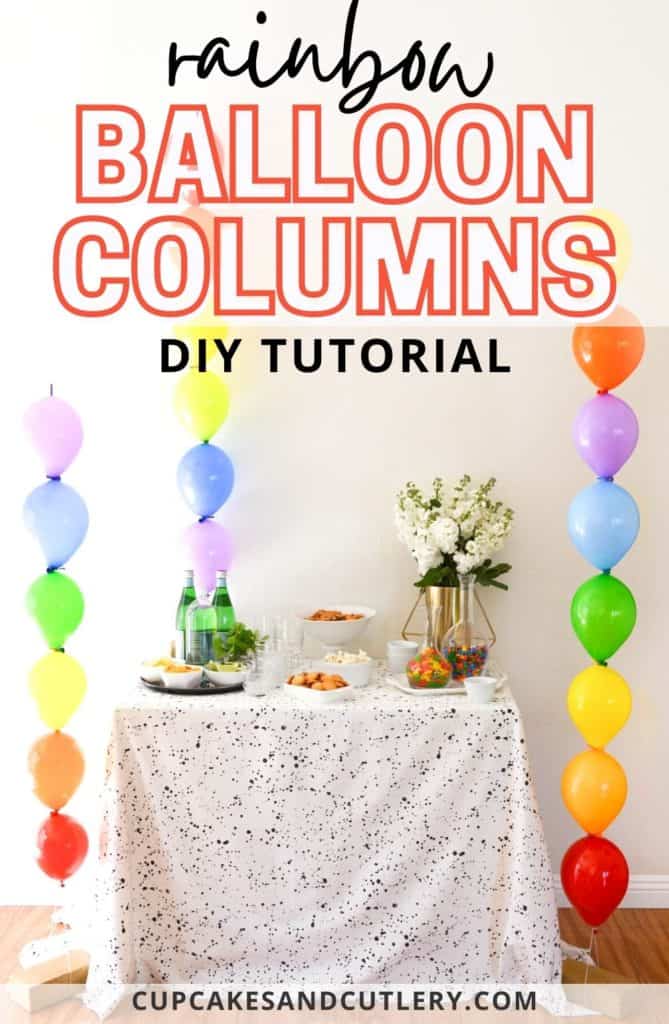
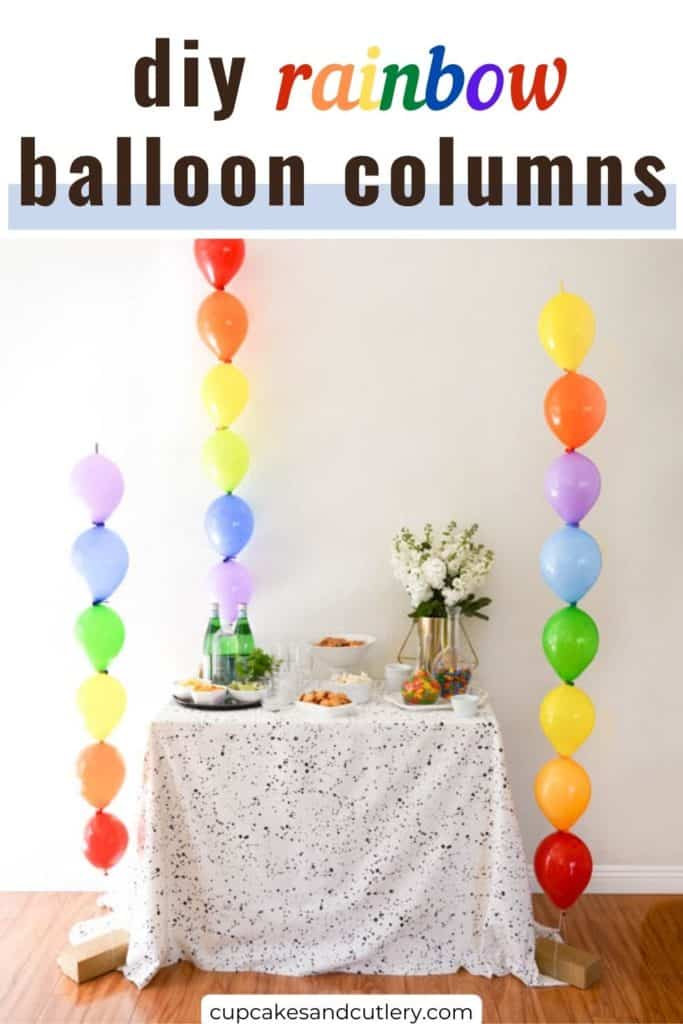
Make the easiest ever DIY balloon columns with rainbow-linking balloons! This colorful party decoration is perfect for St. Patrick’s Day and beyond. With just a few supplies, this DIY can be made in under half an hour!
This post is created in partnership with Balloon Time Helium tanks.
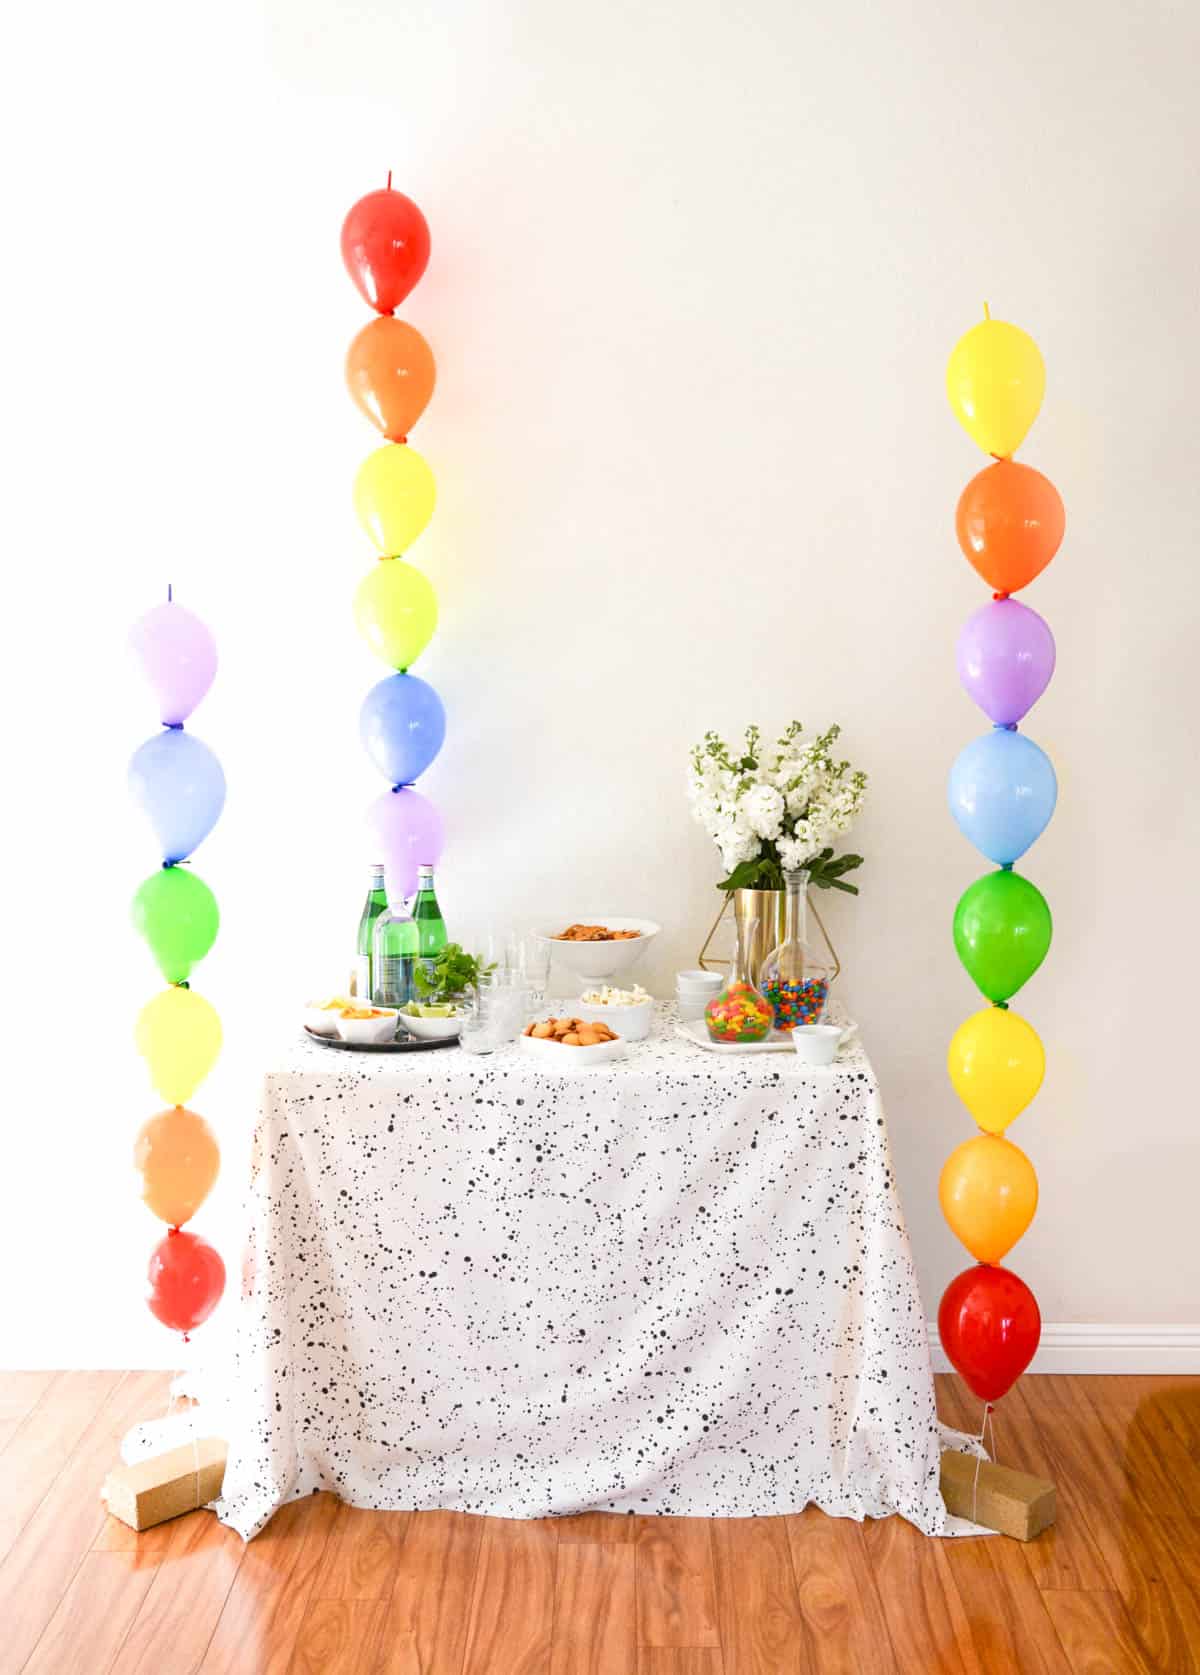
Balloon Column DIY with Homemade Balloon Weights
Balloons are an affordable and fun way to add pizzazz to any party. But they can be hard to work with and hard to get the look you want.
These easy DIY balloon columns are made super simple by using linking balloons. They are a snap to use and can create that rainbow effect in just a few minutes.
Related: Big Balloon are Awesome for Parties
With a small helium tank, you can fill your balloons at home and put this rainbow together whenever you want to add extra color to your party.
With an easy, homemade balloon weight that looks like a gold bar, you can make fun holiday-themed DIY balloon columns decoration that is especially perfect for St. Patrick’s Day.
Supply notes
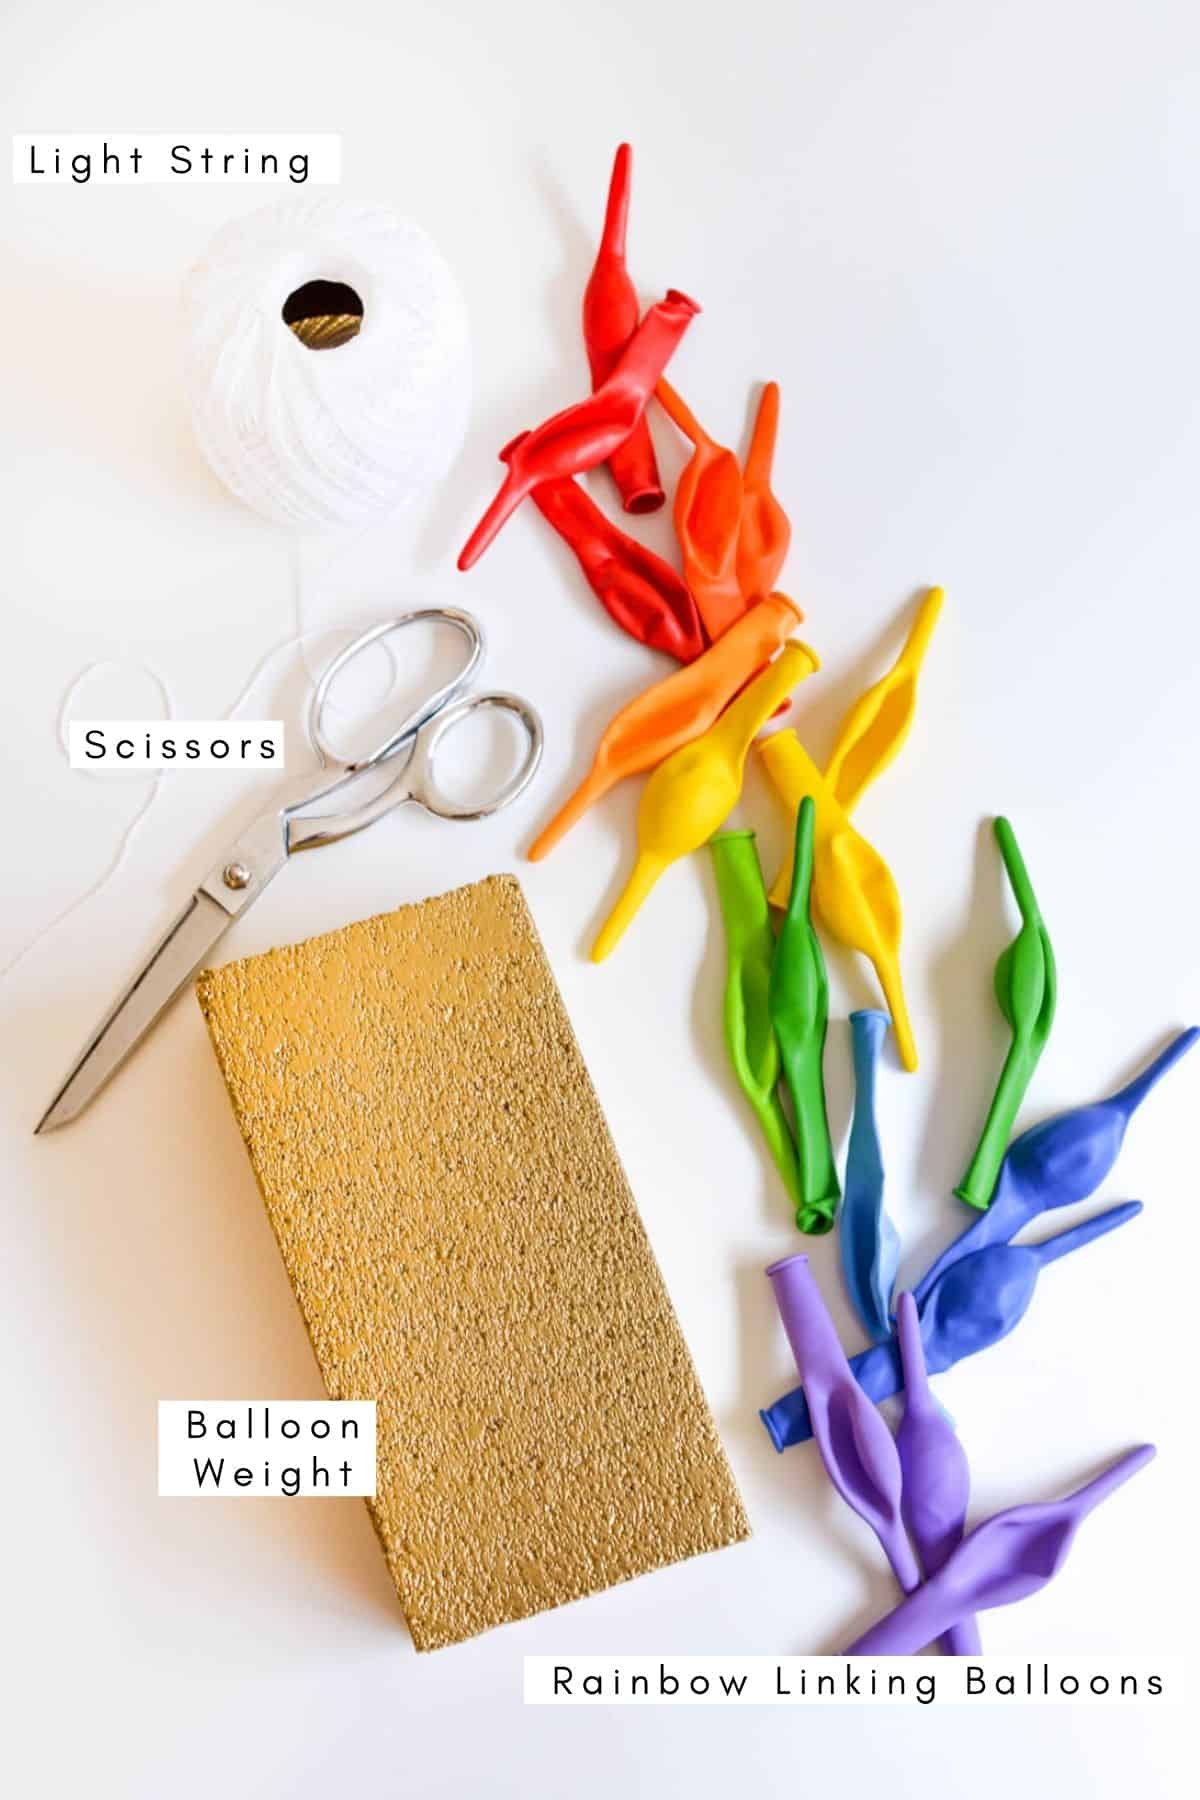
Linking Balloons are the key to making DIY balloon columns super easy. They have a little extra material a the end which you tie to the knotted end of the balloon next to it. This keeps you from needing any specialty balloon crafting items.
They come in all kinds of colors to suit any party’s color scheme.
When using helium to fill small balloons, you need to make sure you use really light string. Curling ribbon would also work. This thin kitchen string ensures that it won’t weigh down the column.
You can use any balloon weight, but this gold brick looks like a gold bar and stays on theme for St. Patrick’s Day.
How to Make Balloon Columns
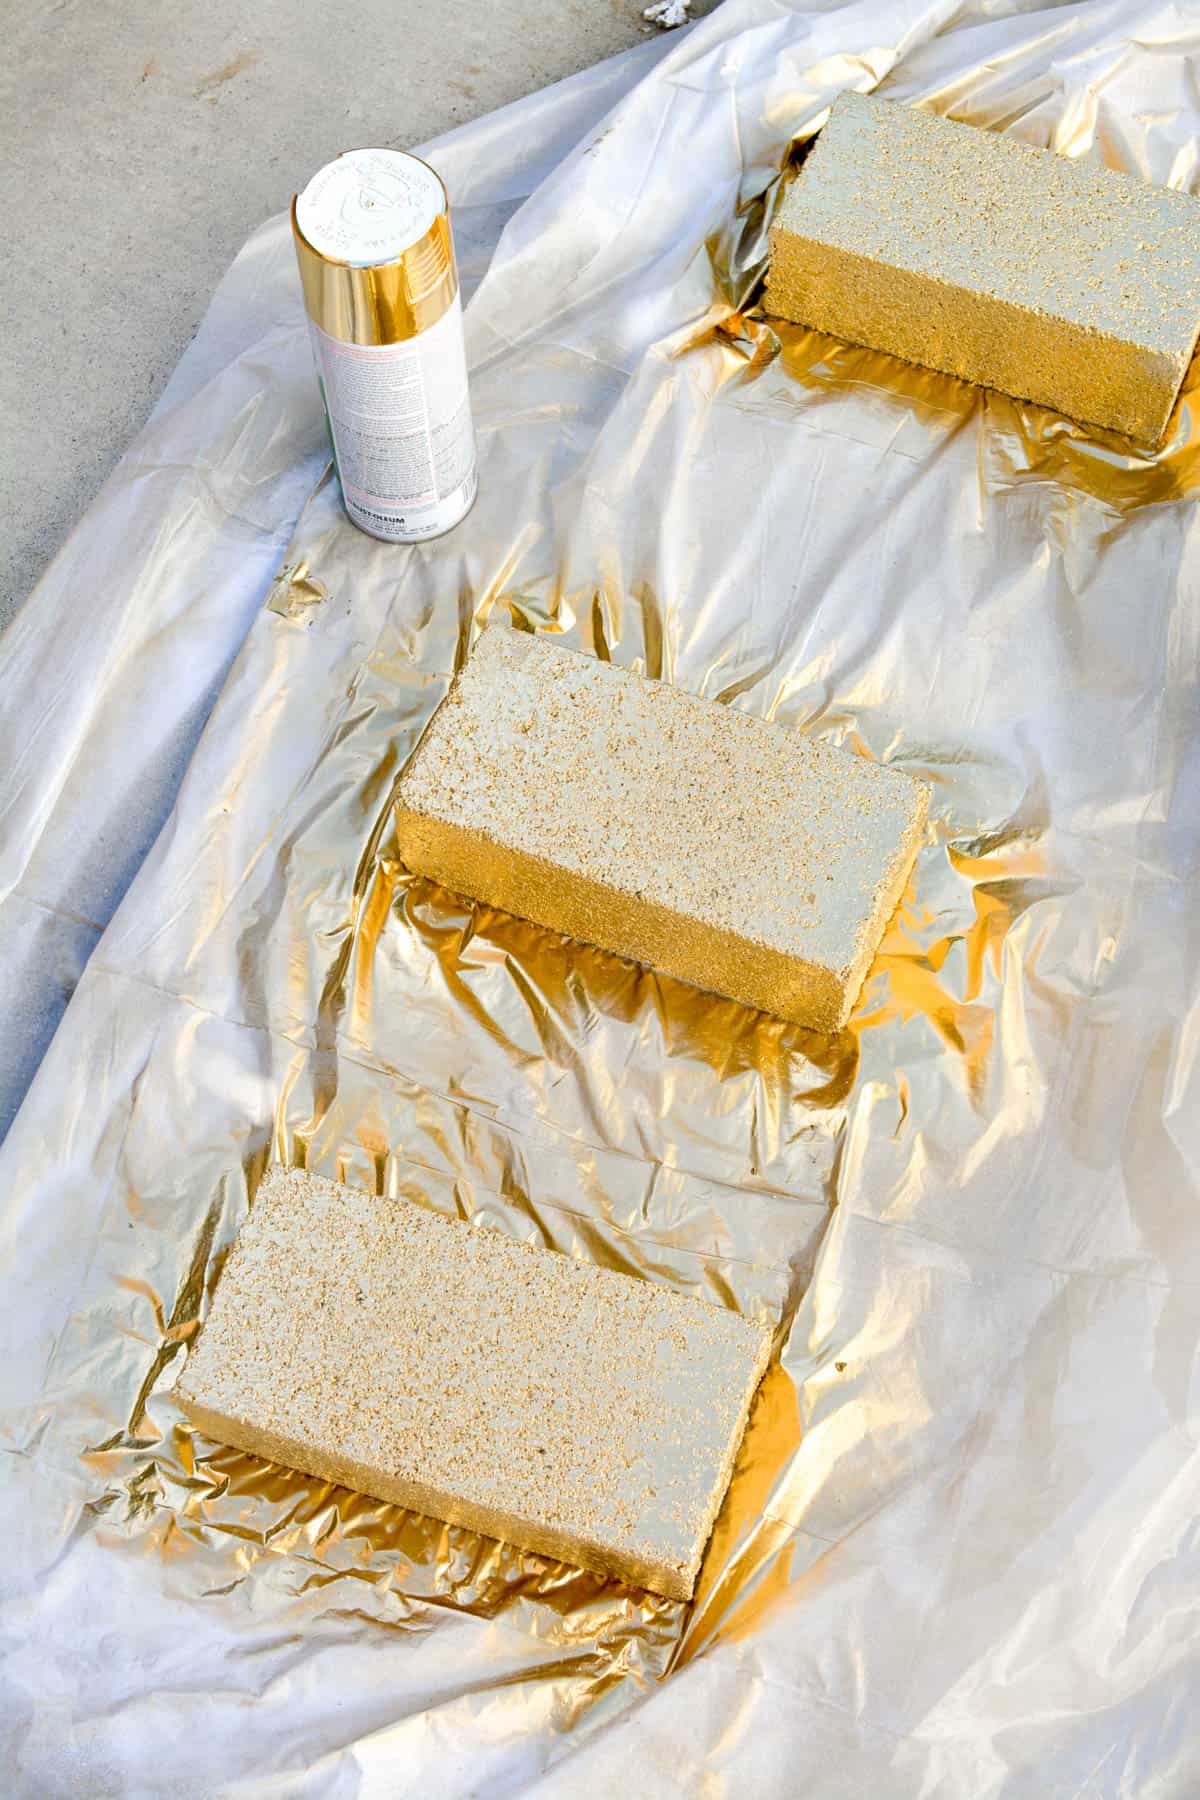
Gold Brick Balloon Weights
- Pick up bricks at your local hardware store. Each brick costs about $0.39 so you totally aren’t going to break the bank! The bricks I purchased were a light gray color which is a lot easier to cover than red brick.
- Layout a drop cloth and cover each brick with 2 coats of white primer. Let each coat dry for a few hours before adding the next.
- Finish the bricks with 2 coats of gold metallic spray paint.
- Let dry completely.
This part can be done well ahead of time to ensure that they are dried for your party.
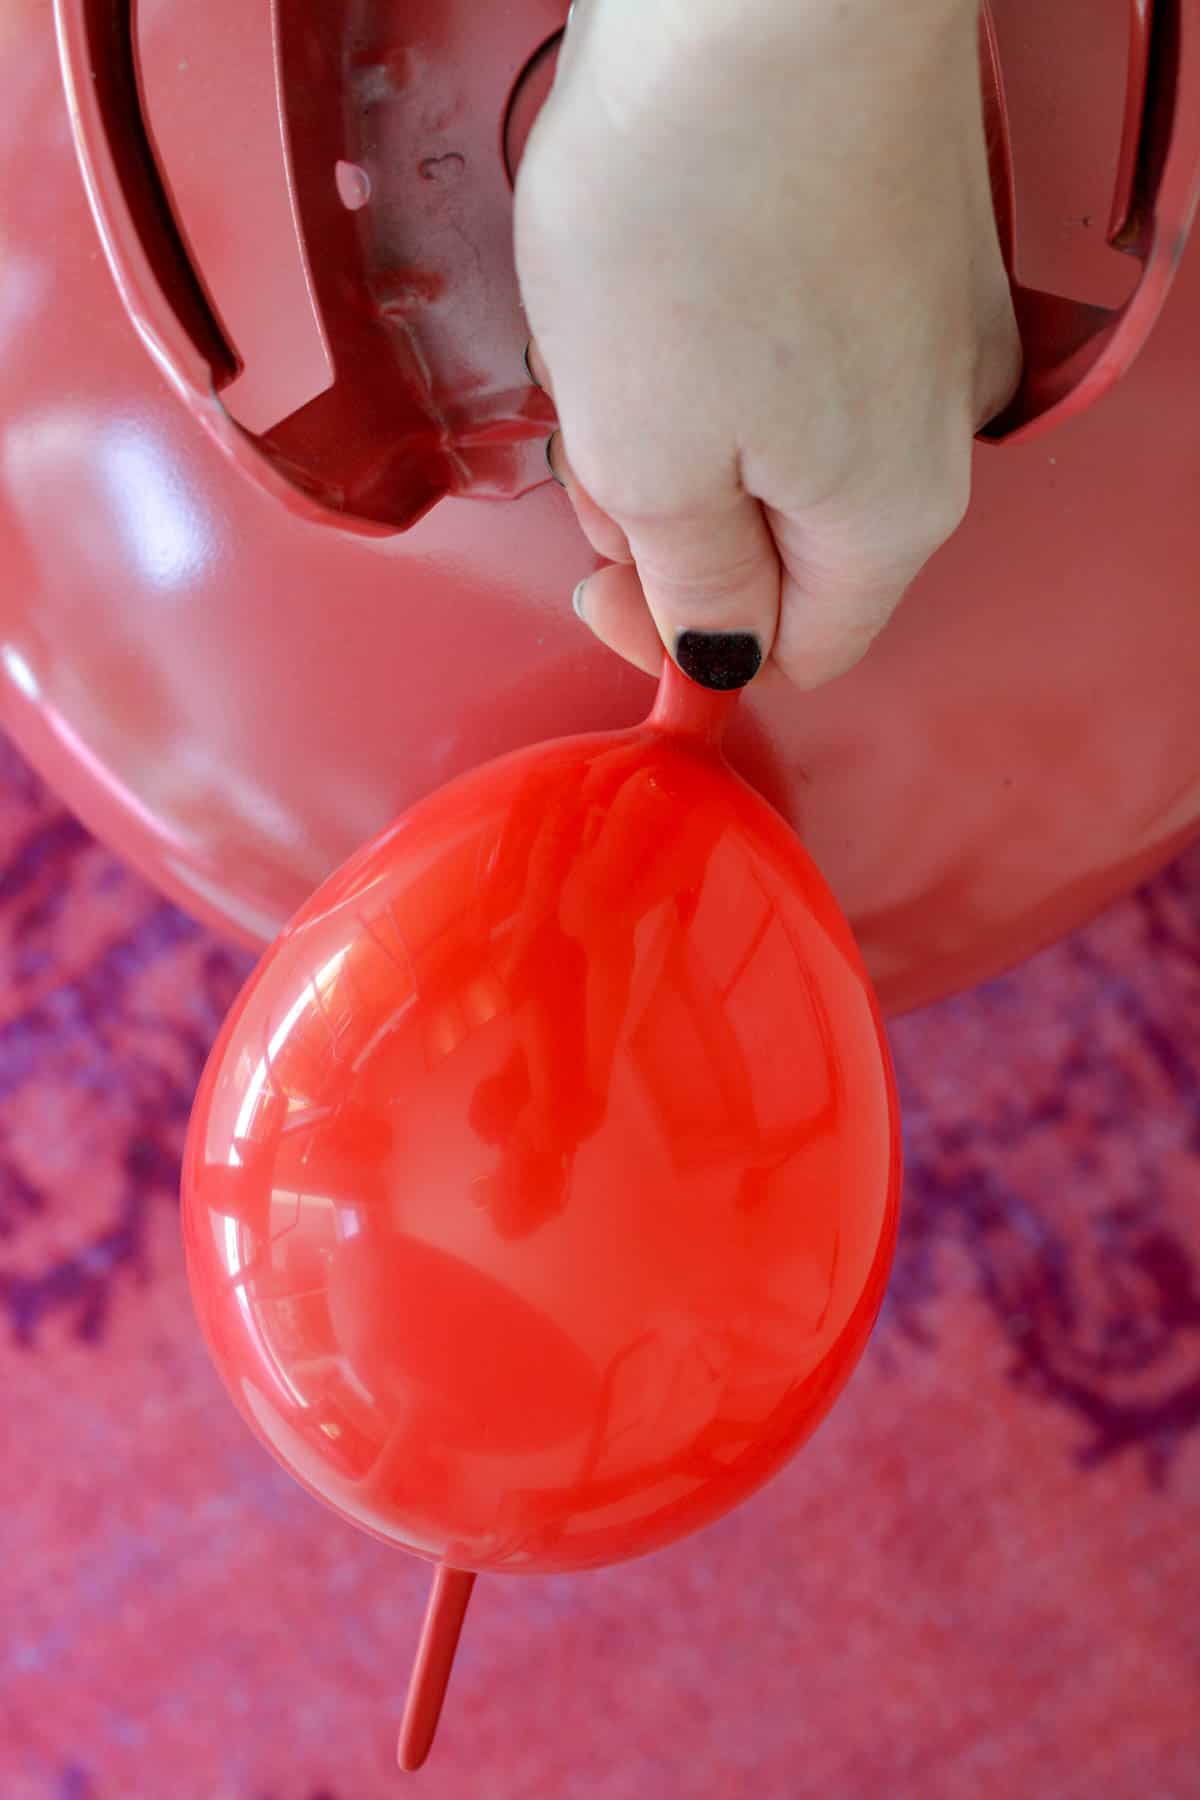
Balloon Columns
Start the DIY balloon columns by blowing up a red linking balloon with helium.

Tie the white kitchen string to the knot of the first balloon.
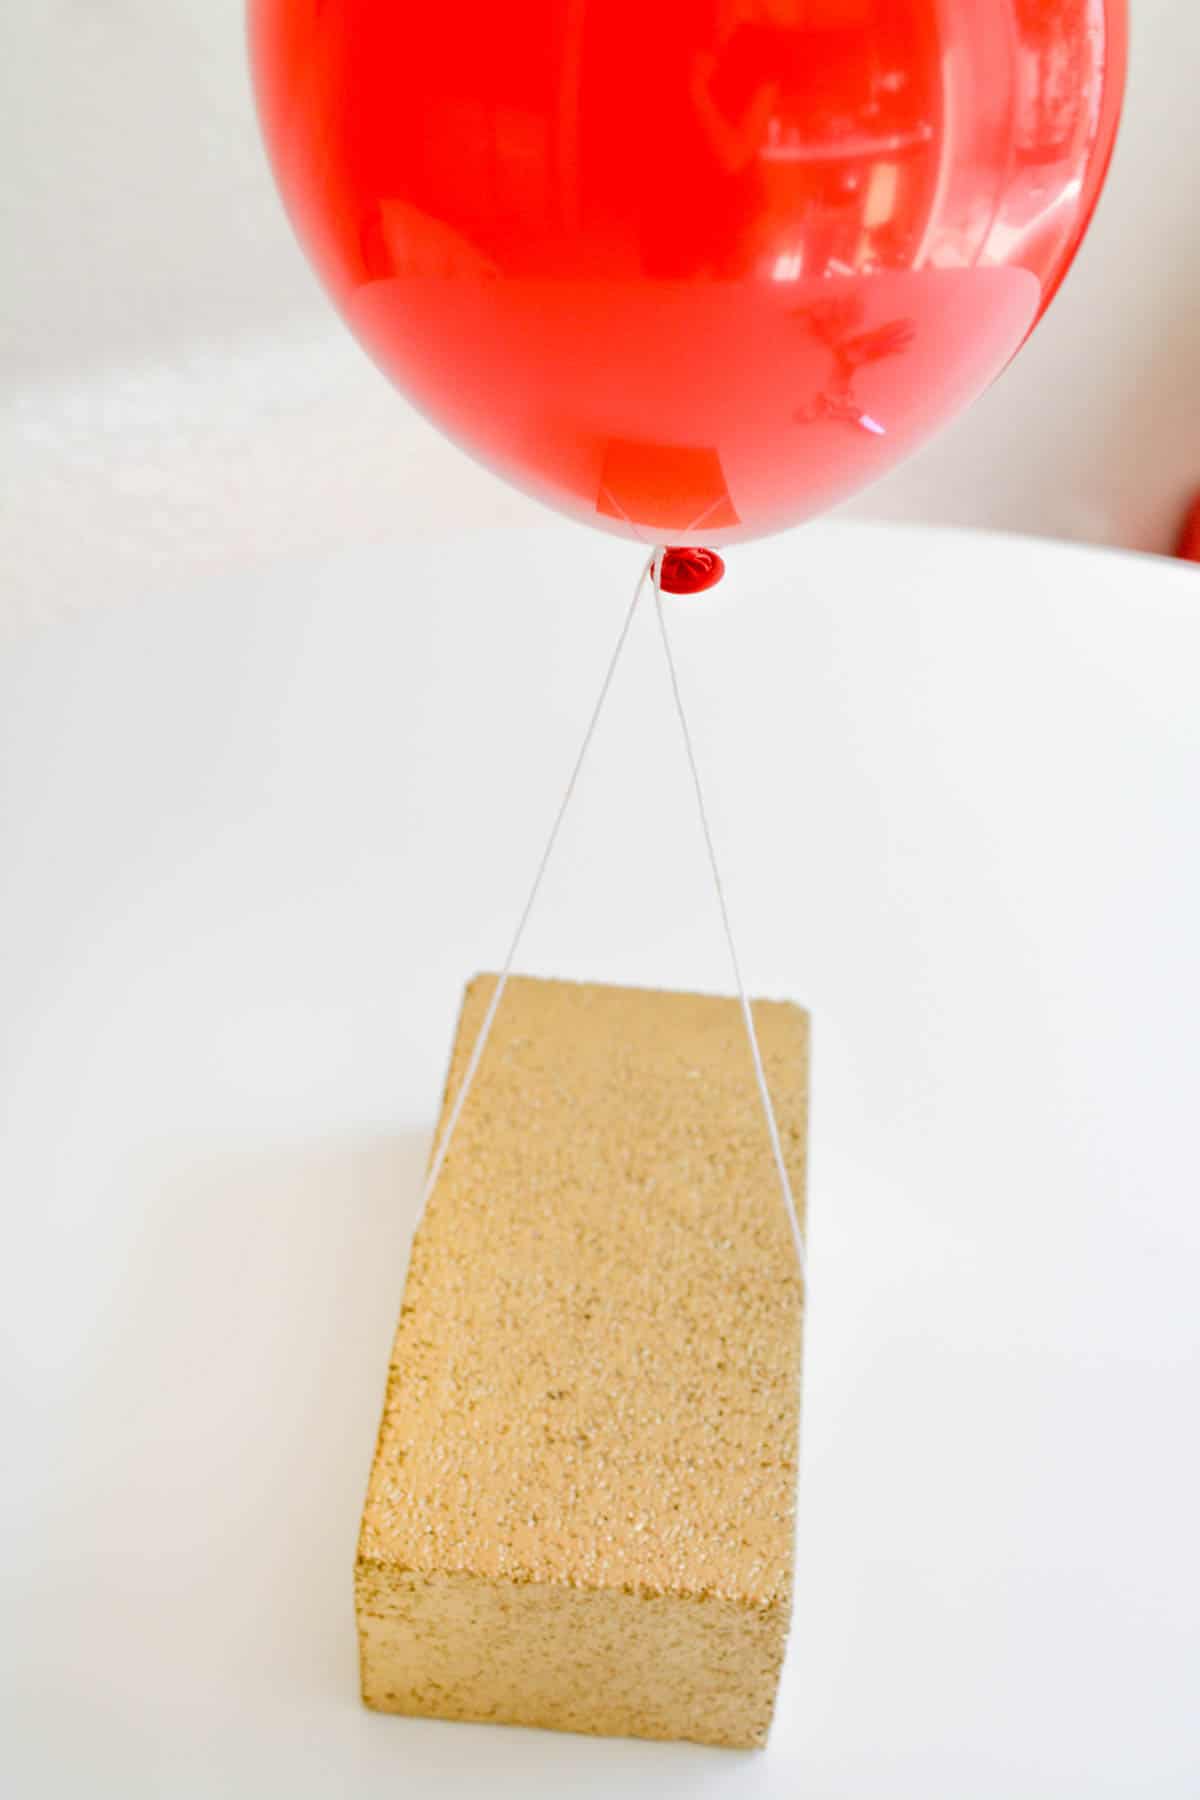
Attach the string to the gold bar balloon weight. You can tie a knot or add a loop to the bottom of your string and secure it under a gold bar balloon weight.
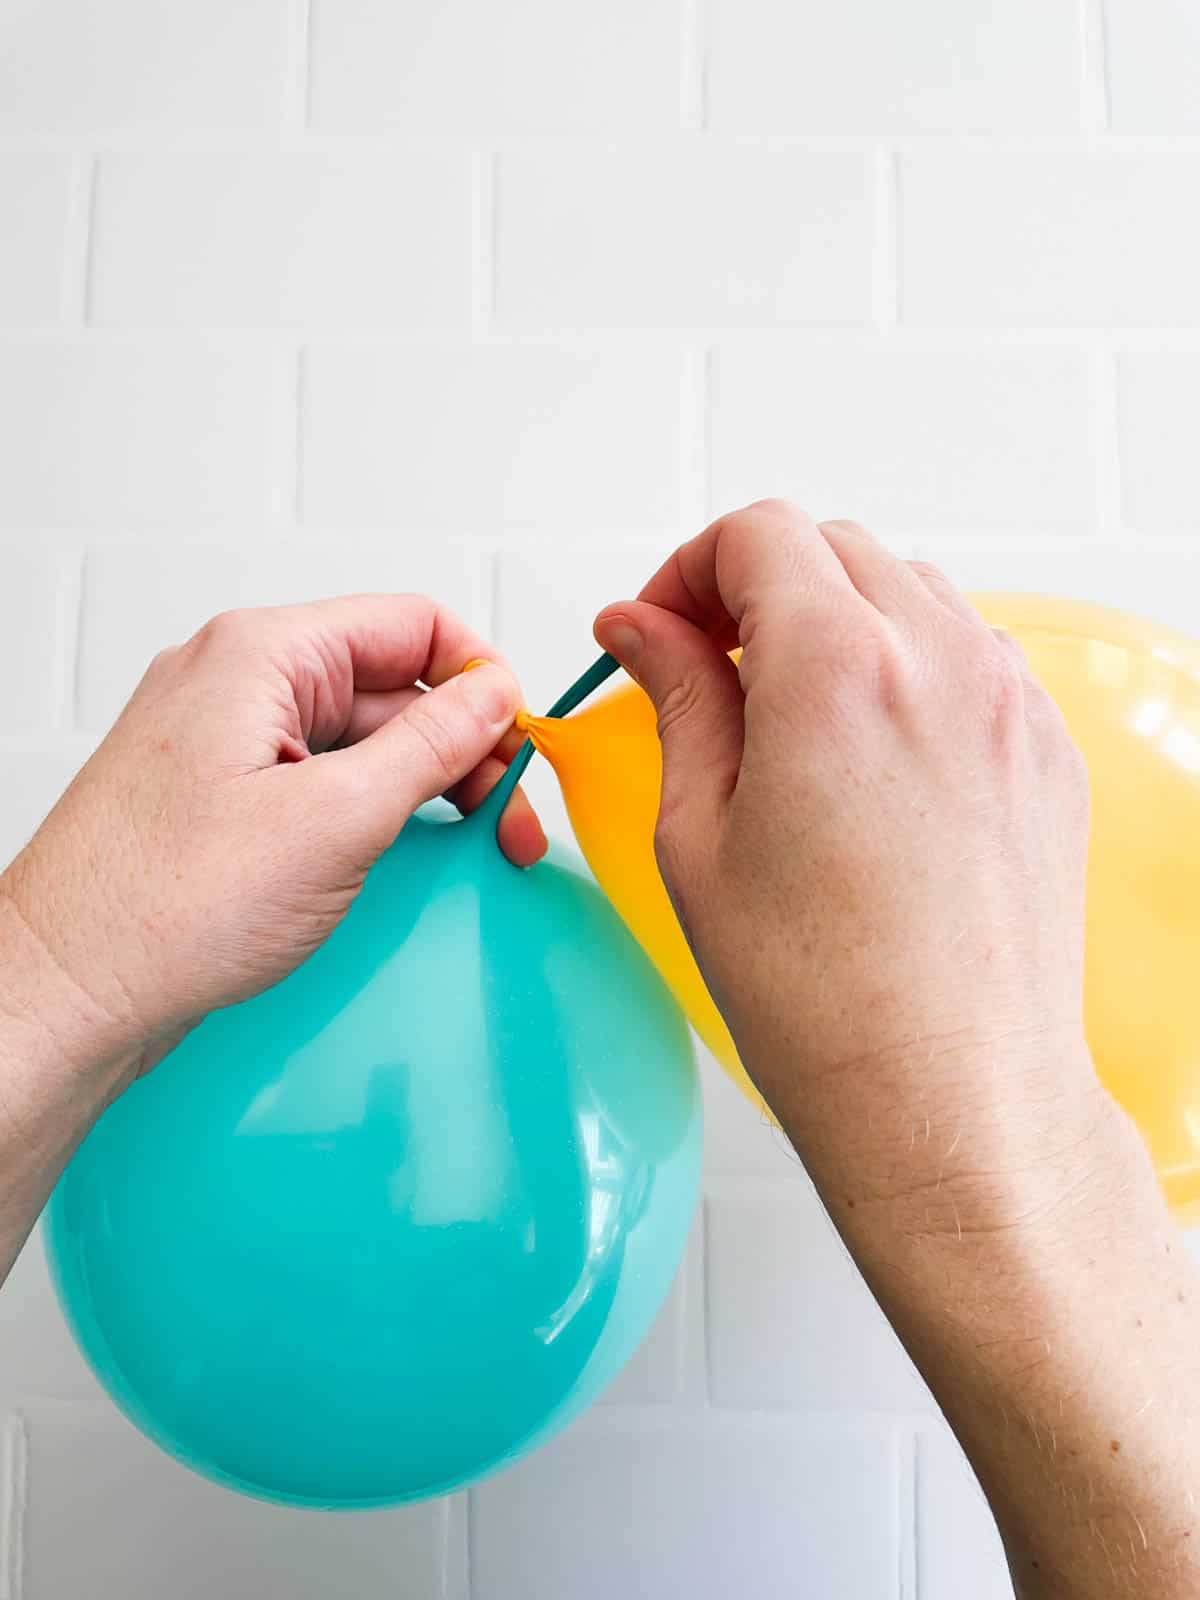
Continue blowing up the linking balloons and tying them to each other (knotted end to tip of the other balloon) to make a column. You can place the balloons in regular rainbow order or change things up. It’s totally up to you.
You could even do a column of just red, another of orange, etc. There is no wrong way to make these!
Tips and tricks
- You can make two of these DIY balloon columns then attach the top balloons to each other to make it into an easy rainbow balloon arch!
- Helium, especially in small balloons doesn’t last very long. Make these as close to your party as possible. They should last for at least an hour or two before you’ll notice the string will start pulling them down.
- Want to skip the helium altogether? Tie the linking balloons together and hang it from the ceiling.
Frequently asked questions
Link O Loons is the brand name for linking balloons that are tied end to end to create easy garlands and DIY balloon columns. They’re also sometimes called Quick Link Balloons.
From reports that I’ve read, the supply of helium has gotten better. While it is still a little lower than usual, by the end of 2020, it should be pretty much back to normal.
Yes! You can find them online or at your local Target or party store. They are easy to store and come with a nozzle making it super simple to blow up balloons at home.
Because there is less room for helium in small balloons, you have to be careful when you fill them. The linking balloons I used are on the small size, so I wouldn’t make them the night before. I would make them 1-2 hours before the party.
Yes! You can make balloon columns that are more dimensional and are much larger and rounder. I find them to be very time-consuming and require more crafty skills. I prefer to keep it simple with linking balloons.
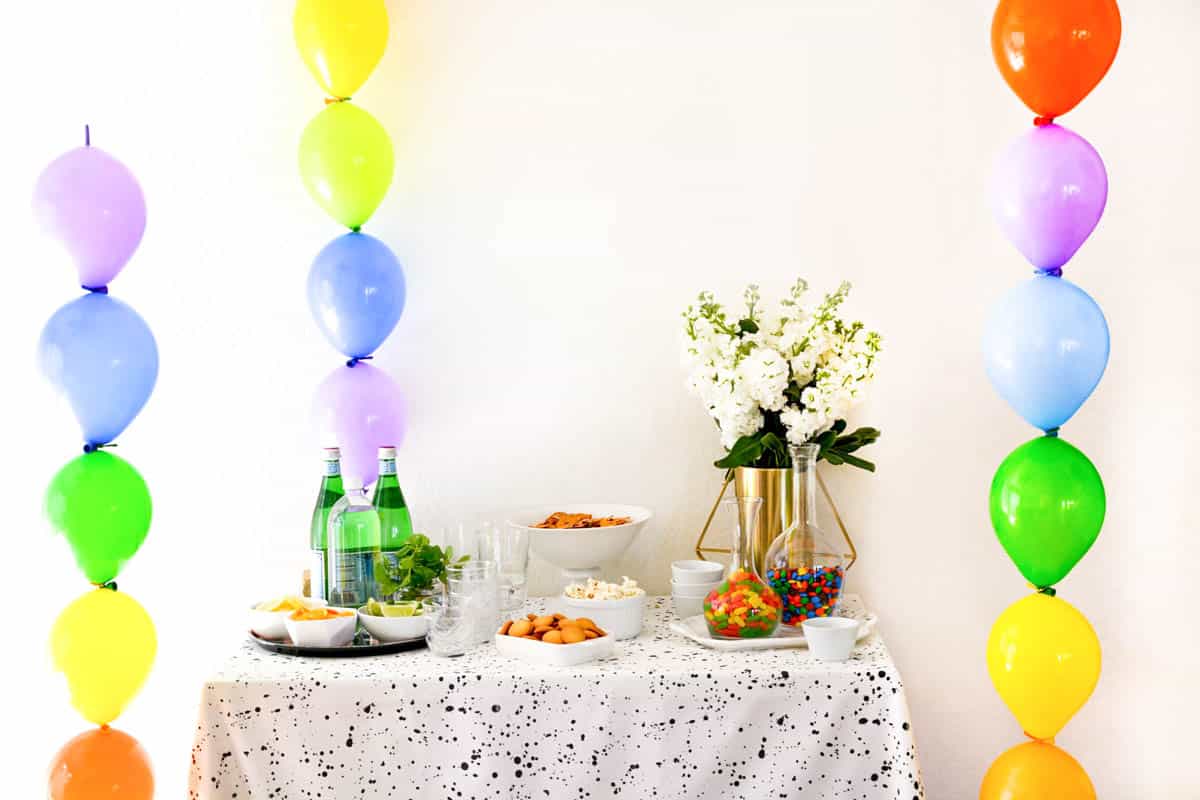
The rainbow-linking balloons add such a fun touch of color and whimsy to this otherwise simple party table.
Just plan ahead to make a few gold bar balloon weights for these DIY balloon columns and you’ll have your St. Patrick’s Day party put together in no time!
More easy balloon decorations
- How to Put a Photo on a Balloon
- Balloon Word Strings for a Baby Shower
- Valentine Balloon Bouquet with Lavender Sachet Weight
- DIY Snowflake Balloons
- DIY Balloon Signs for a Party
- Balloon Bouquet Gift Idea with Gift Cards
- DIY Balloon Arch for a Summer Party
- Papel Picado Banner with Balloons
- How to Make a Balloon Chandelier
Rainbow Linking Balloons DIY Balloon Column
Equipment
Ingredients
Instructions
Gold Brick Balloon Weights (optional)
- Pick up however many bricks you need for the amount of balloon columns you are making.
- On top of a drop cloth, spray bricks with 2 coats of white primer, letting the coats dry in between.
- Spray each brick with 2 coats of Gold Metallic Spray Paint, letting the coats dry in between.
- Let paint dry completely before using. Can be done several days ahead of time.
Rainbow Linking Balloons DIY Columns
- Blow up a red linking balloon with helium. (Or whatever color balloon you want at the bottom of the column).
- Tie the white kitchen string to the knot of the first balloon.
- Attach the string to the gold bar balloon weight. You can tie a knot with the string or add a loop to the bottom of your string and secure it under a gold bar balloon weight.
- Continue blowing up the linking balloons and tying them to each other to make a column. Tie them knotted end to tip of the next balloon. You can place the balloons in regular rainbow order or change things up.


These are so cute! I am going to make these for my daughter’s birthday party.
Fun! Send me a pic!